Laravel Multi-Tenancy: Database vs Subdomain vs Path Routing Strategies
Compare Laravel multi-tenancy approaches: database isolation, subdomain routing, and path routing. Pros, cons, and implementation code for each.
Building a SaaS product? You'll hit the multi-tenancy decision faster than you expect. I learned this the hard way scaling a client's edtech platform from 10 to 500+ schools. One client's data mixing with another's isn't just embarrassing, it's a compliance nightmare and potential lawsuit.
Multi-tenancy in Laravel means serving multiple customers (tenants) from a single application while keeping their data completely isolated. Think Shopify stores, where thousands of shops run on shared infrastructure but never see each other's orders. The architecture you pick now will determine how easily you scale later.
Here's the thing: there's no "best" approach. I've used all three patterns across different projects, and each time the decision came down to specific requirements. Let me show you what I've learned.
What Is Multi-Tenancy in Laravel?
Multi-tenancy is an architecture where a single application instance serves multiple customers. Each customer (tenant) gets their own isolated environment, but they're all running on shared infrastructure.
The key challenge? Data isolation. You need absolute certainty that Tenant A can never access Tenant B's data. Even a single breach destroys trust and can shut down your business.
Laravel doesn't have multi-tenancy built in, but the ecosystem offers solid solutions. The two most popular packages are Spatie's laravel-multitenancy and stancl/tenancy. Spatie gives you the bare essentials and lets you build on top. Stancl is more opinionated and handles more automatically. Both work well. But before you install anything, you need to understand which isolation strategy fits your needs.
If you're also evaluating which admin panel to pair with your multi-tenant app, Filament has built-in multi-tenancy support at the panel level, which can simplify things further.
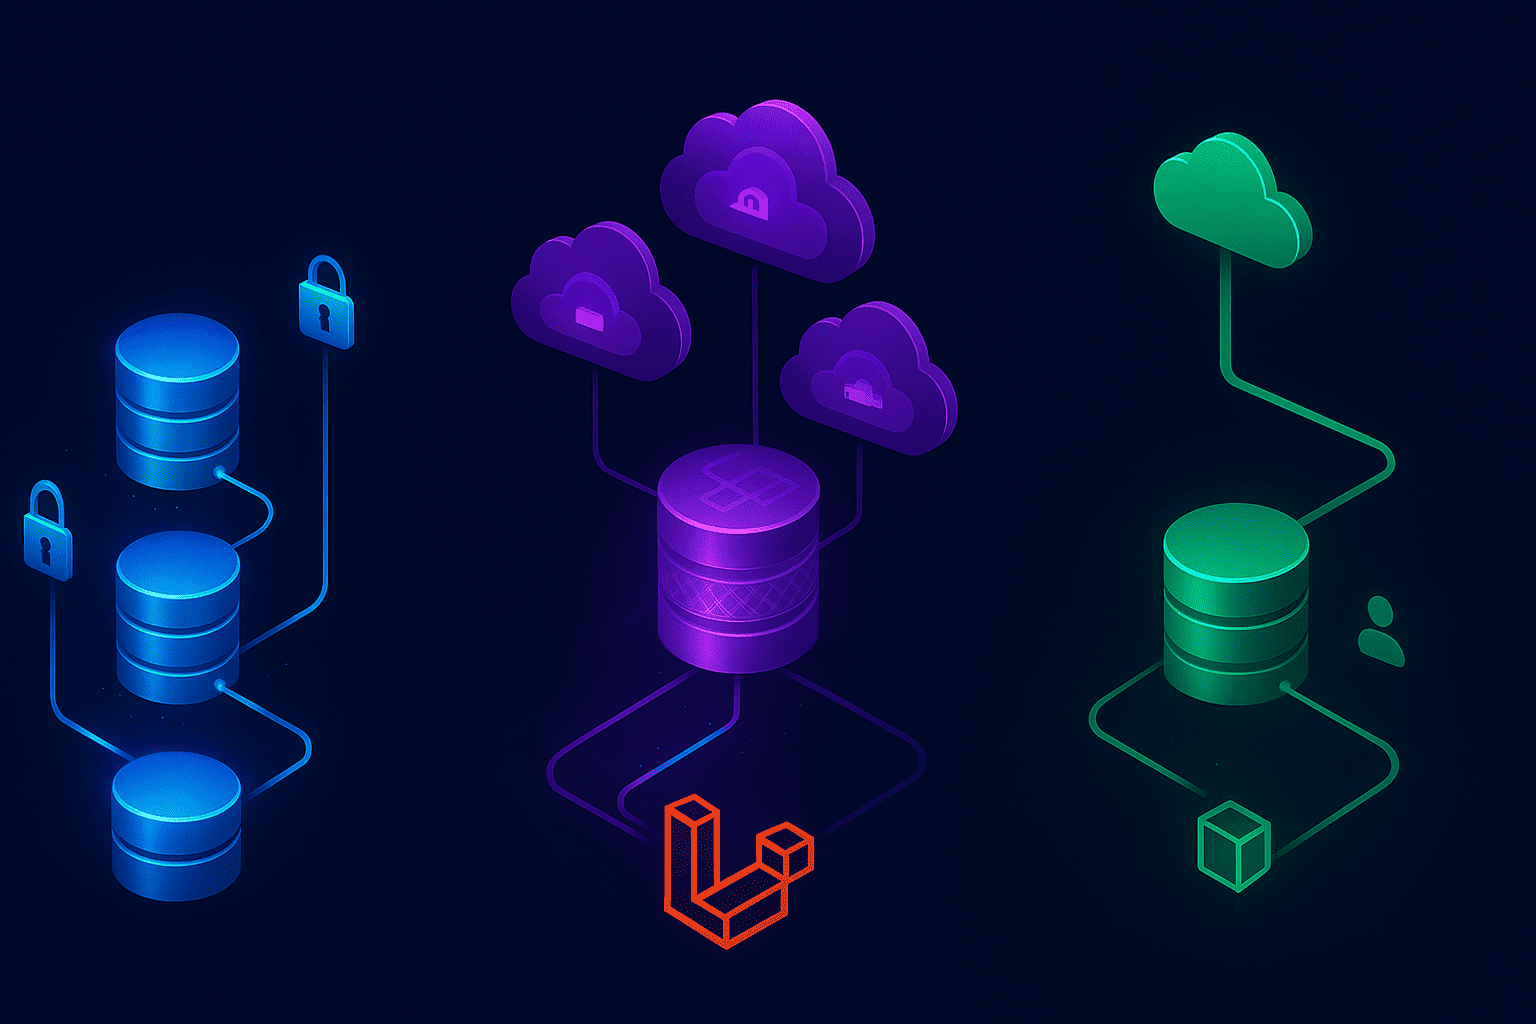
The Three Multi-Tenancy Approaches
1. Database-Per-Tenant (Strong Isolation)
Each tenant gets their own database. Complete separation at the infrastructure level.
When I use this: High-security requirements, clients who demand dedicated resources, or when tenants have wildly different database needs.
I implemented this for a healthcare SaaS where HIPAA compliance required absolute database isolation. Each clinic had a separate MySQL database, and there was zero chance of data leakage.
Pros:
- Maximum security and isolation
- Easy to backup/restore individual tenants
- Can customize database schema per tenant
- Simple to migrate tenants between servers
- Performance issues in one database don't affect others
Cons:
- High resource overhead (one database = one connection pool)
- Complex migrations (run against every database)
- Expensive at scale (100 tenants = 100 databases)
- Cross-tenant reporting becomes a nightmare
- Database connection limits hit faster
2. Subdomain-Based Tenancy (Shared Database)
All tenants share one database, but each gets their own subdomain. You identify tenants by subdomain and filter all queries by tenant_id.
When I use this: Most SaaS products where tenants don't need dedicated infrastructure but want branded URLs.
This is my go-to for 80% of projects. Each customer gets acme.yoursaas.com, and we filter queries by tenant_id. Works great up to thousands of tenants. If you want to see a working example of this approach from scratch, I built a full SaaS starter with Laravel and Filament using single-database tenant isolation.
Pros:
- Cost-effective (single database)
- Easy cross-tenant reporting
- Simpler infrastructure
- Fast tenant provisioning
- Professional appearance with custom domains
Cons:
- Must be meticulous with query scoping
- One performance issue affects everyone
- Harder to provide tenant-specific customization
- Wildcard SSL certificate required
- Database size grows continuously
3. Path-Based Tenancy (Shared Everything)
Tenants are identified by URL path: yoursaas.com/tenant1, yoursaas.com/tenant2. Same database, same domain.
When I use this: Internal tools, B2B applications where branding doesn't matter, or when subdomain management is too complex.
I built an automation dashboard for a client using this approach because their users didn't care about custom URLs. They wanted functionality, not branding.
Pros:
- Simplest to implement
- No SSL certificate complexity
- Single codebase, single database
- Easy local development
- Cheapest infrastructure
Cons:
- Looks less professional
- No custom domain support
- Same data isolation challenges as subdomains
- Can't easily separate tenants later
- Limited scaling options
Implementing Database-Per-Tenant in Laravel
Let's start with the most isolated approach. You'll need a central database that tracks tenants, then dynamic connection switching.
Step 1: Set Up Central Database
Create a migration for your tenants table:
// database/migrations/create_tenants_table.php
Schema::create('tenants', function (Blueprint $table) {
    $table->id();
    $table->string('name');
    $table->string('domain')->unique();
    $table->string('database')->unique();
    $table->timestamps();
});
Step 2: Configure Dynamic Database Connections
Update your config/database.php:
'tenant' => [
    'driver' => 'mysql',
    'host' => env('DB_HOST', '127.0.0.1'),
    'port' => env('DB_PORT', '3306'),
    'database' => null, // Will be set dynamically
    'username' => env('DB_USERNAME', 'forge'),
    'password' => env('DB_PASSWORD', ''),
    'charset' => 'utf8mb4',
    'collation' => 'utf8mb4_unicode_ci',
    'prefix' => '',
    'strict' => true,
],
Step 3: Create Tenant Identification Middleware
// app/Http/Middleware/IdentifyTenant.php
namespace App\Http\Middleware;

use Closure;
use App\Models\Tenant;
use Illuminate\Support\Facades\Config;
use Illuminate\Support\Facades\DB;

class IdentifyTenant
{
    public function handle($request, Closure $next)
    {
        $domain = $request->getHost();

        // Look up tenant in central database
        $tenant = Tenant::where('domain', $domain)->firstOrFail();

        // Switch to tenant's database
        Config::set('database.connections.tenant.database', $tenant->database);
        DB::purge('tenant');
        DB::reconnect('tenant');
        DB::setDefaultConnection('tenant');

        // Store tenant in request for later use
        $request->attributes->set('tenant', $tenant);

        return $next($request);
    }
}
Step 4: Register Middleware
In Laravel 11+, middleware is registered in bootstrap/app.php:
// bootstrap/app.php
use App\Http\Middleware\IdentifyTenant;

return Application::configure(basePath: dirname(__DIR__))
    ->withMiddleware(function (Middleware $middleware) {
        $middleware->web(append: [
            IdentifyTenant::class,
        ]);
    })
    ->create();
Step 5: Create Tenant Provisioning Command
// app/Console/Commands/CreateTenant.php
namespace App\Console\Commands;

use Illuminate\Console\Command;
use Illuminate\Support\Facades\DB;
use App\Models\Tenant;

class CreateTenant extends Command
{
    protected $signature = 'tenant:create {name} {domain}';

    public function handle()
    {
        $name = $this->argument('name');
        $domain = $this->argument('domain');
        $database = 'tenant_' . str_replace(['.', '-'], '_', $domain);

        // Create database
        DB::statement("CREATE DATABASE `{$database}`");

        // Create tenant record
        $tenant = Tenant::create([
            'name' => $name,
            'domain' => $domain,
            'database' => $database,
        ]);

        // Run migrations on new database
        $this->call('migrate', [
            '--database' => 'tenant',
            '--path' => 'database/migrations/tenant',
        ]);

        $this->info("Tenant {$name} created successfully!");
    }
}
Watch out: Database creation requires elevated MySQL privileges. In production, I automate this through infrastructure-as-code or use a database management service that supports programmatic database creation.
Implementing Subdomain-Based Tenancy
This is simpler because you're working with a shared database. I'll show you the approach I use in most projects.
Step 1: Install Spatie Multi-Tenancy
composer require spatie/laravel-multitenancy
php artisan vendor:publish --provider="Spatie\Multitenancy\MultitenancyServiceProvider"
php artisan migrate
Step 2: Create Tenant Model
// app/Models/Tenant.php
namespace App\Models;

use Spatie\Multitenancy\Models\Tenant as BaseTenant;

class Tenant extends BaseTenant
{
    protected $fillable = ['name', 'domain'];

    public function users()
    {
        return $this->hasMany(User::class);
    }
}
Step 3: Add Tenant Foreign Key to Models
// database/migrations/add_tenant_id_to_users.php
Schema::table('users', function (Blueprint $table) {
    $table->foreignId('tenant_id')->constrained()->cascadeOnDelete();
});
Update your User model:
// app/Models/User.php
use Spatie\Multitenancy\Models\Concerns\UsesTenantConnection;
use Spatie\Multitenancy\Models\Concerns\UsesLandlordConnection;

class User extends Authenticatable
{
    protected $fillable = ['tenant_id', 'name', 'email', 'password'];

    public function tenant()
    {
        return $this->belongsTo(Tenant::class);
    }
}
Step 4: Apply Global Scopes
This is critical. Every query must automatically filter by tenant.
// app/Models/User.php (add to booted method)
protected static function booted(): void
{
    static::addGlobalScope('tenant', function ($query) {
        if (auth()->check()) {
            $query->where('tenant_id', auth()->user()->tenant_id);
        }
    });
}
Better approach: Use Spatie's built-in scope:
// app/Models/User.php
use Spatie\Multitenancy\Models\Concerns\UsesLandlordConnection;

class User extends Authenticatable
{
    use UsesLandlordConnection;

    public function tenant()
    {
        return $this->belongsTo(Tenant::class);
    }
}
Step 5: Configure Subdomain Routing
Update your .env:
APP_URL=http://localhost
SESSION_DOMAIN=.yoursaas.test
In config/multitenancy.php:
'tenant_finder' => \Spatie\Multitenancy\TenantFinder\DomainTenantFinder::class,
Step 6: Register Middleware
Add Spatie's middleware in bootstrap/app.php:
// bootstrap/app.php
return Application::configure(basePath: dirname(__DIR__))
    ->withMiddleware(function (Middleware $middleware) {
        $middleware->web(append: [
            \Spatie\Multitenancy\Http\Middleware\NeedsTenant::class,
            \Spatie\Multitenancy\Http\Middleware\EnsureValidTenantSession::class,
        ]);
    })
    ->create();
The EnsureValidTenantSession middleware is important. It prevents users from abusing their session to access another tenant's data. Don't skip this.
Step 7: Wildcard DNS Setup
For local development, update /etc/hosts:
127.0.0.1 yoursaas.test
127.0.0.1 tenant1.yoursaas.test
127.0.0.1 tenant2.yoursaas.test
For production, create a wildcard DNS A record: *.yoursaas.com pointing to your server IP.
You'll also need a wildcard SSL certificate. Let's Encrypt supports this with DNS verification:
certbot certonly --dns-cloudflare --dns-cloudflare-credentials ~/.secrets/cloudflare.ini -d yoursaas.com -d *.yoursaas.com
Implementing Path-Based Tenancy
The simplest approach. Perfect for internal tools or when you don't need branded subdomains.
Step 1: Define Tenant Routes
// routes/web.php
Route::prefix('{tenant}')->group(function () {
    Route::get('/', [DashboardController::class, 'index']);
    Route::resource('users', UserController::class);
    Route::resource('projects', ProjectController::class);
});
Step 2: Create Tenant Middleware
// app/Http/Middleware/IdentifyTenantByPath.php
namespace App\Http\Middleware;

use Closure;
use App\Models\Tenant;

class IdentifyTenantByPath
{
    public function handle($request, Closure $next)
    {
        $tenantSlug = $request->route('tenant');

        $tenant = Tenant::where('slug', $tenantSlug)->firstOrFail();

        app()->instance('tenant', $tenant);

        return $next($request);
    }
}
Step 3: Apply Global Scope
Same as subdomain approach, filter all queries by tenant_id:
// app/Providers/AppServiceProvider.php
public function boot(): void
{
    Builder::macro('forCurrentTenant', function () {
        if ($tenant = app('tenant')) {
            return $this->where('tenant_id', $tenant->id);
        }
        return $this;
    });
}
Usage:
// Automatically scoped to current tenant
User::forCurrentTenant()->get();
Project::forCurrentTenant()->where('status', 'active')->get();
Query Scoping: The Make-or-Break Detail
Here's where most developers screw up multi-tenancy. One missed where('tenant_id', ...) and you've got a data leak.
Automatic Scoping with Traits
I create a trait for all tenant-scoped models:
// app/Models/Concerns/BelongsToTenant.php
namespace App\Models\Concerns;

use App\Models\Tenant;
use Illuminate\Database\Eloquent\Builder;

trait BelongsToTenant
{
    protected static function bootBelongsToTenant(): void
    {
        static::addGlobalScope('tenant', function (Builder $builder) {
            if ($tenant = app('tenant')) {
                $builder->where('tenant_id', $tenant->id);
            }
        });

        static::creating(function ($model) {
            if ($tenant = app('tenant')) {
                $model->tenant_id = $tenant->id;
            }
        });
    }

    public function tenant()
    {
        return $this->belongsTo(Tenant::class);
    }
}
Apply to models:
// app/Models/Project.php
class Project extends Model
{
    use BelongsToTenant;

    // tenant_id is automatically applied to all queries
}
Bypassing Scopes When Needed
Sometimes you need cross-tenant queries (admin dashboards, reporting):
// Remove tenant scope for this query
User::withoutGlobalScope('tenant')->get();

// Or temporarily disable
User::withoutTenantScope()->where('email', 'admin@example.com')->first();
Security tip: Never allow tenant scope bypass in regular controllers. Create separate admin controllers with explicit authentication checks.
Database Migrations Across Tenants
Running migrations differs by approach.
Database-Per-Tenant Migrations
You need to migrate every tenant database:
// app/Console/Commands/MigrateTenants.php
public function handle()
{
    $tenants = Tenant::all();

    foreach ($tenants as $tenant) {
        $this->info("Migrating {$tenant->name}...");

        Config::set('database.connections.tenant.database', $tenant->database);
        DB::purge('tenant');

        $this->call('migrate', [
            '--database' => 'tenant',
            '--path' => 'database/migrations/tenant',
        ]);
    }
}
I run this in CI/CD pipelines during deployments. Takes longer as you scale, but it's manageable with parallel processing.
Shared Database Migrations
Standard Laravel migrations work fine. Just remember to add tenant_id to every table:
Schema::table('orders', function (Blueprint $table) {
    $table->foreignId('tenant_id')->constrained()->cascadeOnDelete();
    $table->index(['tenant_id', 'created_at']); // Important for performance
});
Performance Considerations
Multi-tenancy adds complexity that affects performance.
Database Indexing
Every tenant-scoped query needs proper indexes:
// Always index tenant_id with frequently queried columns
$table->index(['tenant_id', 'status']);
$table->index(['tenant_id', 'user_id']);
$table->index(['tenant_id', 'created_at']);
I once watched a client's SaaS slow to a crawl at 200 tenants. Adding composite indexes cut query time from 2s to 50ms. Don't skip this.
Connection Pooling
With database-per-tenant, connection pools fill up fast. Solutions:
- Use PgBouncer or ProxySQL for connection pooling
- Implement aggressive connection timeout settings
- Consider switching to shared database once you hit 50+ tenants
Caching Strategies
Cache keys must include tenant identifier:
// Bad - cache collision between tenants
Cache::remember('users', 3600, fn() => User::all());

// Good - tenant-specific cache
Cache::remember("tenant_{$tenant->id}_users", 3600, fn() => User::all());
Spatie's package handles this automatically if you enable the PrefixCacheTask in your config.
Common Mistakes to Avoid
Mistake 1: Forgetting Tenant Scope on Eager Loads
// This bypasses tenant scope on posts!
$user = User::with('posts')->find($id);

// Make sure related models also use BelongsToTenant trait
Mistake 2: Queue Jobs Without Tenant Context
Jobs run outside request context, so tenant isn't automatically available. This is one of those bugs you won't catch until production. Pass the tenant ID explicitly:
// app/Jobs/ProcessOrder.php
class ProcessOrder implements ShouldQueue
{
    public $tenantId;

    public function __construct($orderId, $tenantId)
    {
        $this->orderId = $orderId;
        $this->tenantId = $tenantId;
    }

    public function handle()
    {
        $tenant = Tenant::find($this->tenantId);
        app()->instance('tenant', $tenant);

        // Now your queries are properly scoped
        $order = Order::find($this->orderId);
    }
}
Spatie's package can make queued jobs tenant-aware automatically if you enable the queues_are_tenant_aware_by_default config option. But I'd still recommend being explicit for critical jobs like payment processing and data exports. For more on building reliable queue systems, see my guide to processing 10,000 tasks without breaking.
Mistake 3: Not Testing Cross-Tenant Isolation
Write tests that verify data isolation:
public function test_tenant_cannot_access_other_tenant_data()
{
    $tenant1 = Tenant::factory()->create();
    $tenant2 = Tenant::factory()->create();

    app()->instance('tenant', $tenant1);
    $user1 = User::factory()->create();

    app()->instance('tenant', $tenant2);
    $users = User::all();

    $this->assertCount(0, $users); // Should not see tenant1's user
}
I run these tests on every deployment. One failure shuts down the pipeline.
Mistake 4: Not Planning for Tenant Data Exports
GDPR requires you provide tenant data exports. Plan for this early:
// app/Console/Commands/ExportTenantData.php
public function handle()
{
    $tenant = Tenant::where('domain', $this->argument('domain'))->first();
    app()->instance('tenant', $tenant);

    $data = [
        'users' => User::all(),
        'projects' => Project::all(),
        // ... other models
    ];

    Storage::put("exports/{$tenant->id}.json", json_encode($data));
}
Mistake 5: Using UUID Primary Keys Without Planning
UUIDs prevent auto-increment ID exposure between tenants, but they come with tradeoffs:
// Larger index size, slower joins
$table->uuid('id')->primary();
I use UUIDs only when tenant-facing URLs include IDs. For internal references, auto-increment is faster. If you need to generate them for testing, I usually just grab a UUID generator to create test fixtures.
When to Use Each Approach
After building multiple SaaS products, here's my decision framework:
Use Database-Per-Tenant when:
- Healthcare, finance, or other regulated industries
- Clients explicitly pay for dedicated resources
- You need tenant-specific database customization
- Compliance requires physical data separation
- You have fewer than 50 tenants
Use Subdomain-Based Tenancy when:
- Building standard B2B SaaS
- Branding matters to customers
- You expect 50-5000 tenants
- Cost optimization is important
- You need cross-tenant analytics
Use Path-Based Tenancy when:
- Internal tools or admin dashboards
- Branding doesn't matter
- Simplicity is the priority
- You're prototyping or building an MVP
- Budget is extremely limited
Migration Paths Between Approaches
You're not locked into your initial choice. I've migrated projects between all three patterns.
From Path to Subdomain
Easiest migration. Just update routing:
// Before: yoursaas.com/tenant1
Route::prefix('{tenant}')->group(...)

// After: tenant1.yoursaas.com
Route::domain('{tenant}.yoursaas.com')->group(...)
Add DNS records and SSL certificates. No database changes needed.
From Subdomain to Database-Per-Tenant
More complex. You need to:
- Create databases for each tenant
- Copy tenant data to new databases
- Update tenant records with database names
- Switch connection handling middleware
- Verify data integrity
- Gradually migrate tenants (not all at once)
This took me two weeks for a 100-tenant application, running migrations during low-traffic windows.
From Database-Per-Tenant to Subdomain
Reverse process, but includes data consolidation. I built a migration script:
foreach ($tenants as $tenant) {
    DB::connection('tenant')->table('users')
        ->chunkById(100, function ($users) use ($tenant) {
            foreach ($users as $user) {
                DB::table('users')->insert([
                    ...(array)$user,
                    'tenant_id' => $tenant->id,
                ]);
            }
        });
}
Risky at scale. Test extensively before attempting in production.
Frequently Asked Questions
Which multi-tenancy approach is best for a first SaaS?
Start with subdomain-based tenancy using a shared database. It's the best balance of cost, simplicity, and scalability. You can handle thousands of tenants on a single database if you index properly, and the migration path to database-per-tenant is straightforward when you need it.
Should I use Spatie or stancl/tenancy?
Both are solid. Spatie gives you minimal scaffolding and lets you build on top, which means more control but more code. Stancl handles more automatically (database switching, cache separation, queue awareness) out of the box. I reach for Spatie when I want full control, and stancl when I want to move fast.
How do I handle Stripe billing with multi-tenancy?
Make the Tenant model Billable instead of the User model. Each tenant gets its own Stripe customer, subscriptions, and invoices. This way billing is tied to the organization, not individual users. I covered this in detail in my Stripe integration guide.
Can I use Filament with multi-tenancy?
Yes. Filament has built-in multi-tenancy at the panel level. You can scope an entire admin panel to a tenant with ->tenant(Team::class) in your panel provider. This handles resource scoping, navigation, and tenant switching automatically. It pairs well with either Spatie or stancl packages.
What happens if a global scope accidentally gets bypassed?
A data leak. That's why you need automated tests that run on every deployment. Create a test for each model that verifies Tenant A's data is invisible to Tenant B. Also add a CI check that scans for withoutGlobalScopes() calls outside of admin controllers, so you catch accidental bypasses before they ship.
What's Next?
Multi-tenancy isn't one-size-fits-all. I've used database-per-tenant for healthcare apps, subdomain-based for standard SaaS, and path-based for internal tools. Each choice was right for its context.
Start with subdomain-based tenancy for most projects. It balances cost, complexity, and scalability. You can always migrate to database-per-tenant later if needed.
The critical part? Test your tenant isolation religiously. Write automated tests, conduct security audits, and never assume your scoping is bulletproof. One data leak can destroy your business.
Next steps: install Spatie's multitenancy package, scaffold your tenant model, and build a simple proof-of-concept. Get the isolation working correctly before adding features.
If you're building a multi-tenant SaaS and want help choosing the right architecture, or you need someone to audit your tenant isolation, let's talk. I've built this across multiple projects and can help you avoid the costly mistakes.

About Hafiz
Senior Full-Stack Developer with 9+ years building web apps and SaaS platforms. I specialize in Laravel and Vue.js, and I write about the real decisions behind shipping production software.
View My Work →Get web development tips via email
Join 50+ developers • No spam • Unsubscribe anytime
Related Articles
Building Admin Dashboards with Filament: A Complete Guide for Laravel Developers
Learn how to build admin dashboards with Filament in Laravel. Complete guide wit...
Stripe Integration in Laravel: Complete Guide to Subscriptions & One-Time Payments
Learn how to integrate Stripe with Laravel for subscriptions and one-time paymen...

Building a SaaS with Laravel and Filament: The Complete Guide
Build a production-ready SaaS with Laravel and Filament. Multi-tenancy, Stripe p...